
A few years ago, I went into a pie making frenzy. For every family event, I wanted to bake an apple pie. Why? I have no idea. But everyone was always so excited to see an apple pie out on the table–it is a classic, after all.
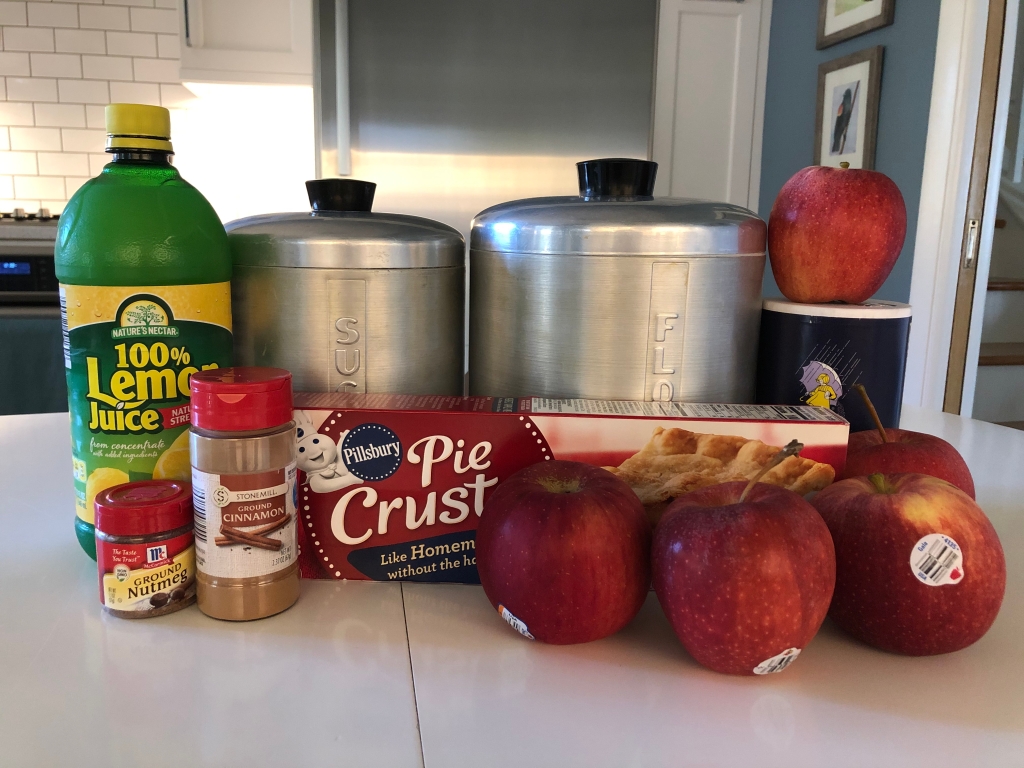
For whatever reason, my family has a stockpile of Pillsbury pie crusts. I didn’t want them to go bad, and it has been a while since I baked a pie, so I decided that today, I was going to make an apple pie.


Conveniently, on the side of the pie crust box is a recipe for apple pie. It seemed easy enough and required minimal ingredients. It was also convenient that I just so happened to have some apples laying around!
First, I peeled the apples. Back in the day, I used to use a paring knife (no idea why–I guess I liked to complicate things), but I wanted this pie to be as easy as possible, so I grabbed a peeler and went at it.

After peeling the apples, I sliced them. It went better than I thought it would. I tend to get nervous around large knives because I have a fear of chopping off a finger. (No fingers were lost in this process!)
I placed the peeled and sliced apples into a large bowl.

The recipe called for approximately six cups of sliced apples. I did not measure them because I was lazy, but I assumed what I had was enough.
Next, I added the rest of the filling ingredients to the sliced apples and mixed everything together. It looked scrumptious!

I took the pie crusts and laid one out on the bottom of an un-greased pie dish. I found that letting the crust sit out for a few minutes before handling it made rolling it out a lot smoother.
After rolling out the bottom crust, I filled it with the apples.

It was time for the top crust! Rolling it out was easy. Fusing it together with the bottom proved to be a challenge. I felt like I was destroying it, and it looked a bit messy. I made it look more appetizing by using a fork to make a nice design on the edges of the crust.

Using a knife, I cut some slits into the top crust to make an air vent. By doing this, the pie has less of a chance of exploding in the oven.
The pie baked at 425 degrees for about 35 minutes. After 35 minutes, I had to wrap tin foil around the crust so it wouldn’t burn. It was hard to do because tin foil conducts heat, and I was using potholders to prevent burned fingers, so I had limited use of my thumbs. But I managed, and the pie went back into the oven for 20 more minutes.

It’s done! Some of the filling oozed out of the top, but it still looked so good. I allowed it to cool in the dish for about two hours before cutting into it.
For some reason, the pie stuck to the dish a little bit as a tried to cut a slice out. I think it’s because the filling made it’s way through the crust during baking, but I wasn’t phased by it. It still tasted delicious and would be perfect with a scoop of vanilla ice cream on the side!
What’s your favorite type of pie? Do you prefer making your own crust or using a packaged one? Let me know in the comments!
